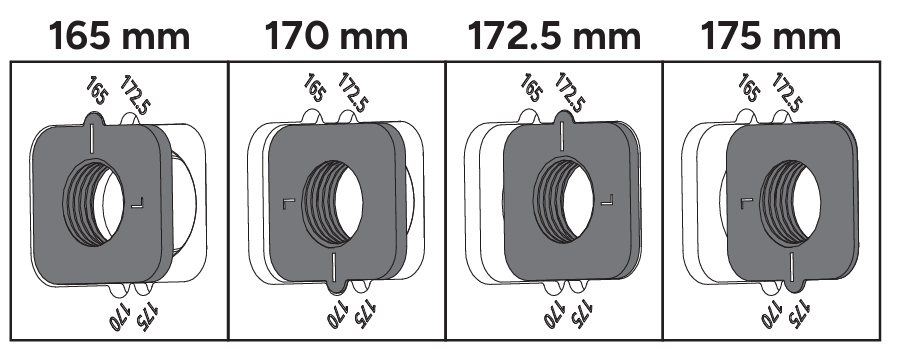
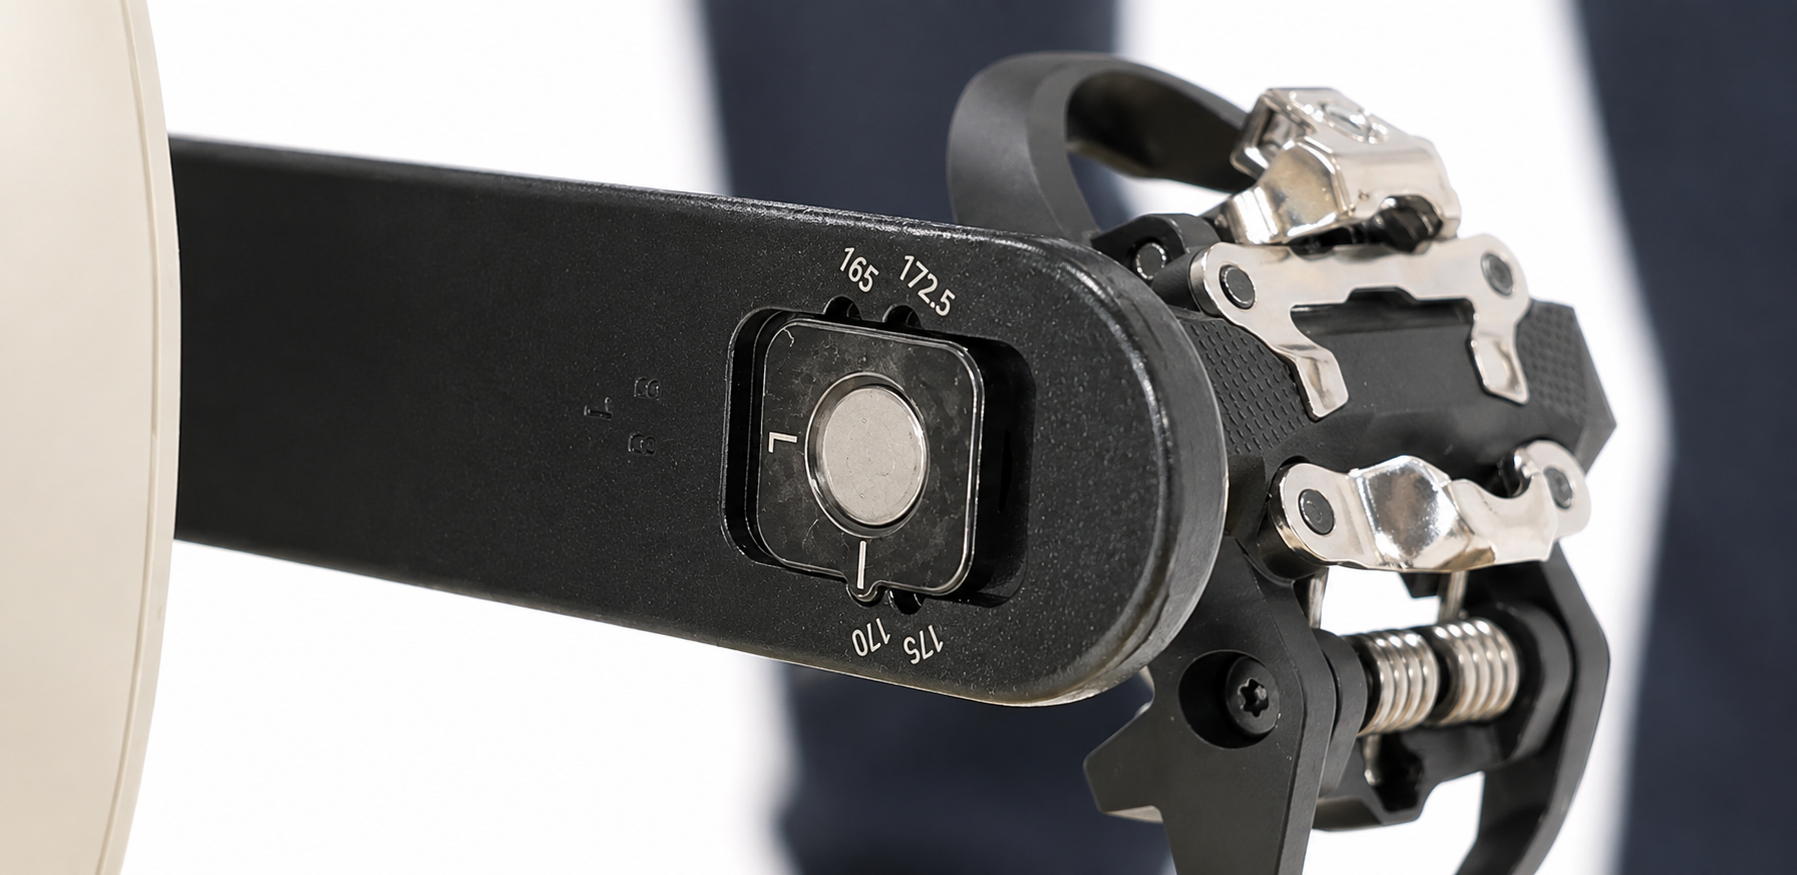
The SB200 allows for adjustable crank lengths from 165 mm to 175 mm. The crank length is adjusted using left- and right-specific nuts on the backside of the crank arms.
Installing pedals on the SB200
- On the back of the crank arm, insert the tab of the pedal nut into your desired crank length position.
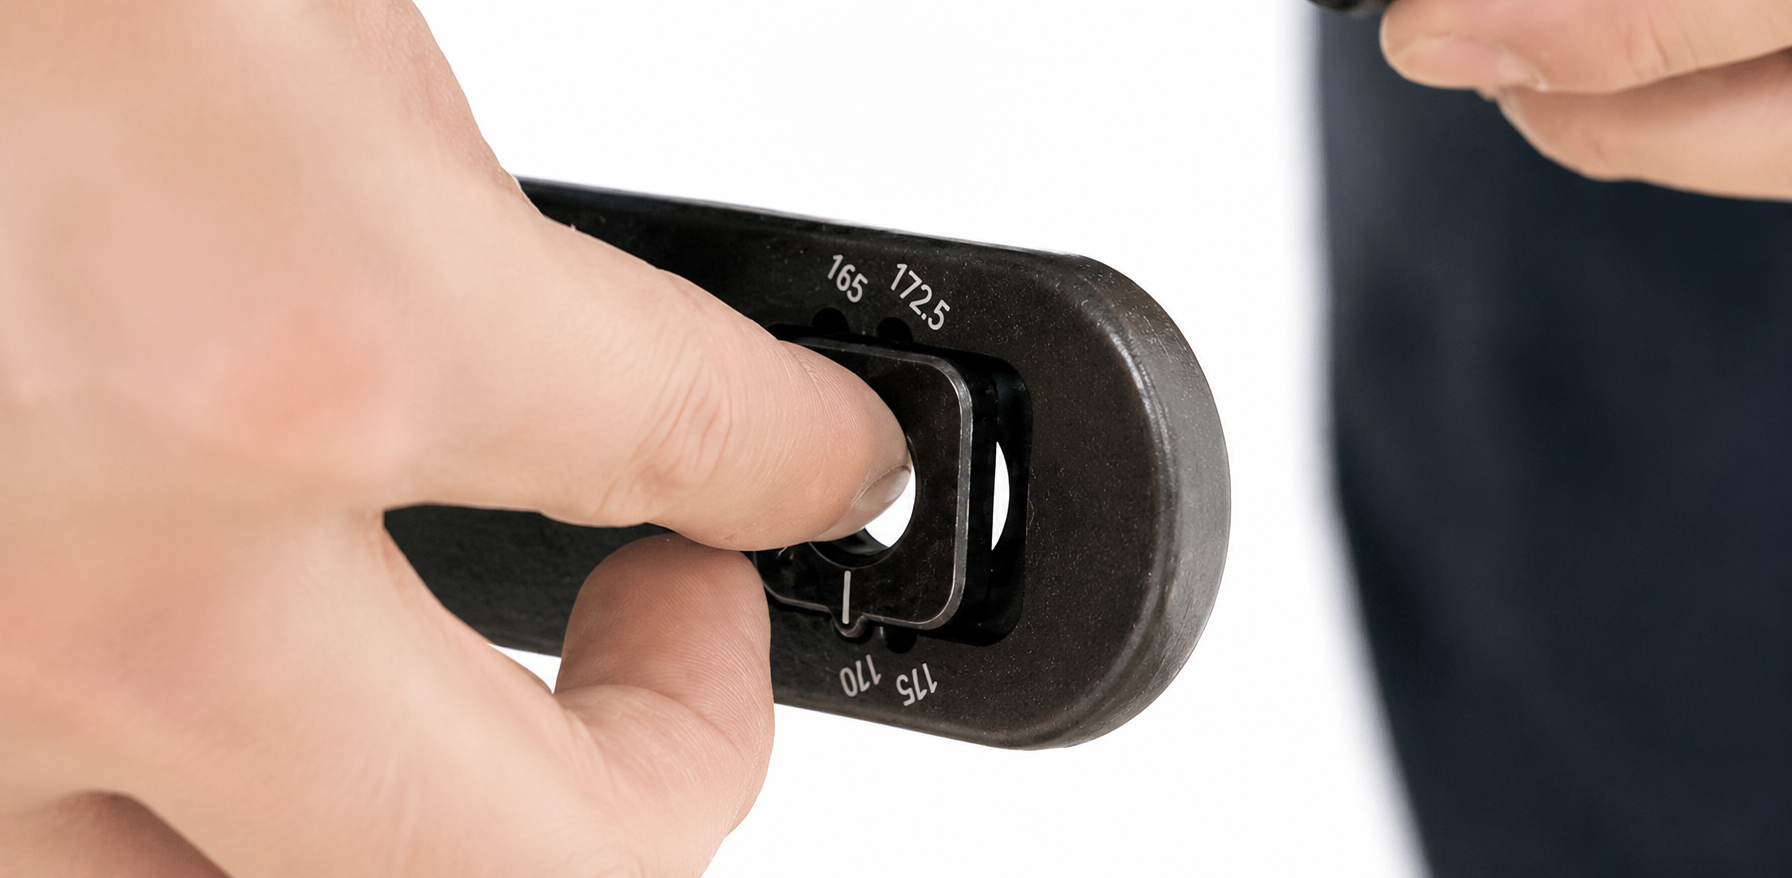
- Place the square-shaped washer onto the pedal spindle. Apply a small amount of grease to the pedal threads, then thread the pedal spindle into the corresponding pedal nut by hand to avoid cross-threading.
Note that the left pedal and left pedal nut are reverse-threaded, and installing the wrong pedal can damage the threads on the pedal or pedal nut. Most pedals are marked with an L (left) or R (right).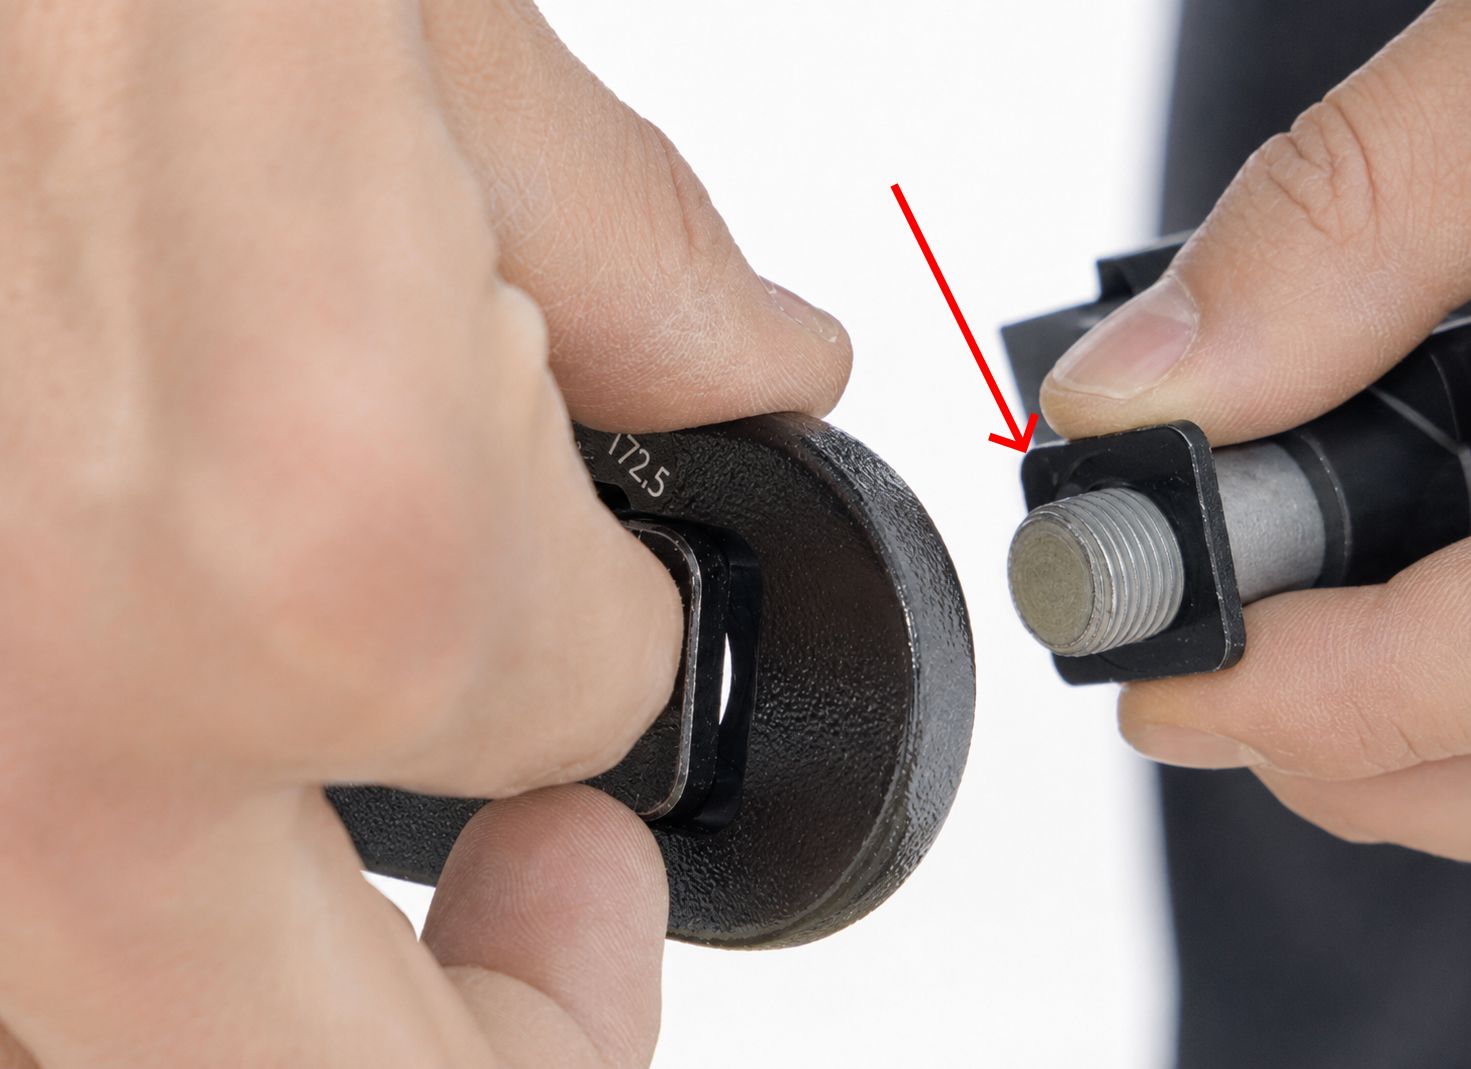
- Thread the pedal into the crank arm by hand while holding the sizing nut in place to prevent it from moving. This helps prevent cross-threading. Once the pedal is hand-tight, finish tightening it using the appropriate tool. Most pedals use either a 15 mm pedal wrench or a 6 mm or 8 mm hex (Allen) key.
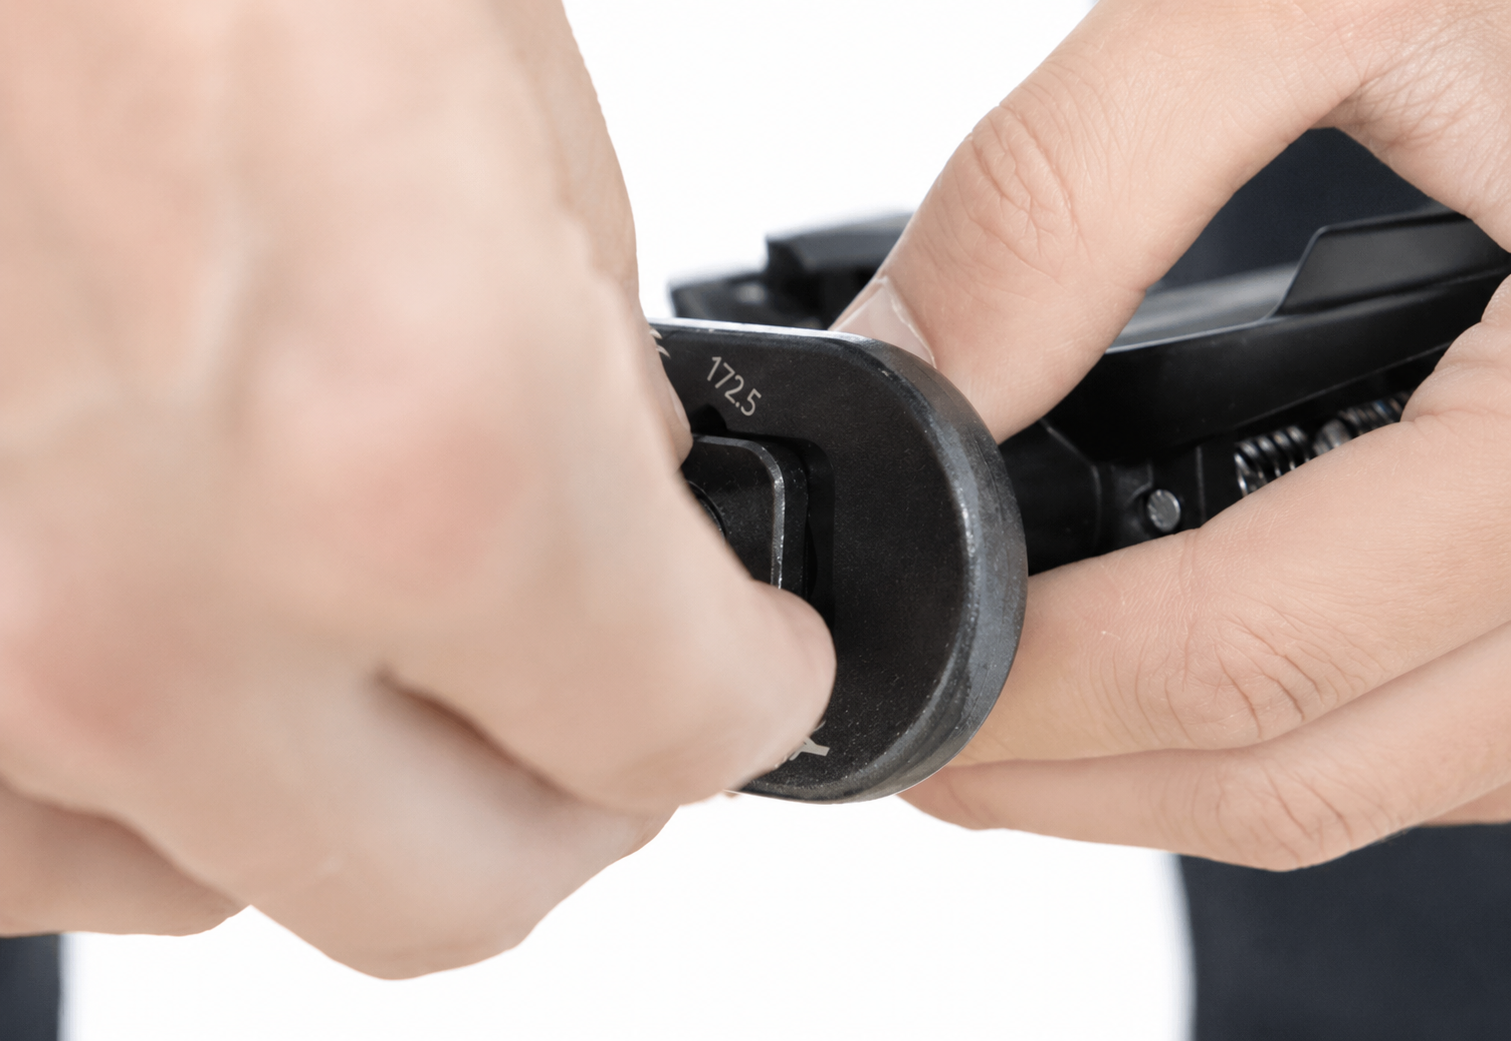
- Right pedal: Turn clockwise to install and counterclockwise to remove.
- Left pedal: The left pedal uses reverse (left-hand) threads. Turn counterclockwise to install and clockwise to remove.
- Tighten the pedals to the manufacturer's recommended torque specification and read the pedal disclaimer found below or in the SB200 quick start guide.
Pedal Disclaimer
The Stages SB200 does not come supplied with pedals. Please review the following warnings when installing and using your own pedals. Stages Cycling assumes no risk or warranty related to pedal malfunction or improper installation methods.
• Inspect pedals and cleats for damage or wear regularly to ensure safety while operating the bike.
• Apply grease to the pedal threads before installing, and if required by the pedal manufacturer, use pedal washers. Pedal extenders are not recommended.
• Follow installation instructions carefully, as the left pedal is reverse threaded. Do not force pedal threads, as irreparable damage may occur to the crank arm.
• Check pedal manufacturer’s instructions for correct torque specification.
Was this article helpful?
That’s Great!
Thank you for your feedback
Sorry! We couldn't be helpful
Thank you for your feedback
Feedback sent
We appreciate your effort and will try to fix the article